Step-by-step guide for every main ElluMed CRM workflow.
Use this as a staff reference for daily clinic operations: registering patients, managing the queue, recording consultations, managing users, and keeping local data backed up.
First run
Install and prepare the clinic computer.
Download the Windows installer from the ElluMed CRM page.
Run the installer on the clinic computer that will keep the SQLite database.
Open ElluMed CRM from the Start Menu or desktop shortcut.
Allow ElluMed CRM through Windows Firewall if Windows asks for network permission.
Log in with the first admin account and change the default password before using real patient data.
The Windows desktop app turns the main clinic computer into the local ElluMed CRM server.
Accounts
Log in and change default passwords.
Open ElluMed CRM on the host computer, or open the LAN address from another clinic device.
Enter the staff email and password.
If the account is new or reset, set a private password when prompted.
If repeated wrong passwords trigger a temporary warning, wait a few minutes or close and reopen ElluMed CRM on the host computer.
Starter accounts
Use these only for first setup or demos, then change the passwords immediately.
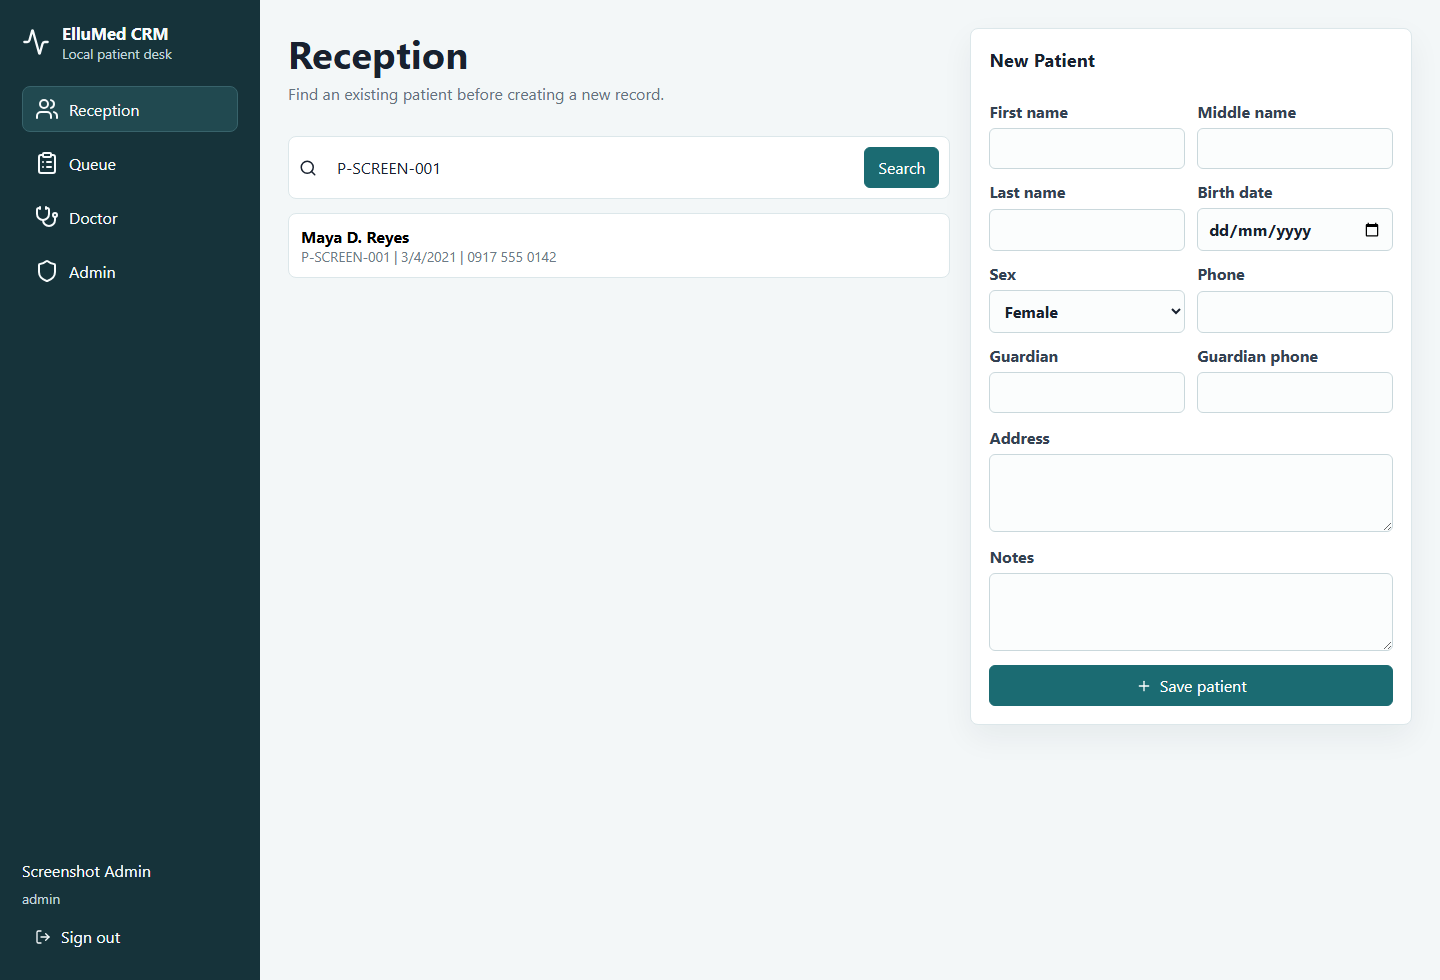
Search first using name, phone, guardian name, or patient number.
Open an existing match if the patient is already registered.
Create a new patient only when no correct match exists.
Fill in first name, last name, birth date, sex, contact details, guardian details, address, and notes.
Review any duplicate warning before saving.
After saving, add the patient to today's queue or schedule an appointment for another date.
Reception starts by searching for an existing patient, then creates or updates the patient record only when needed.
CRUD reference
How create, read, update, and delete-style actions work.
Create
Create
Receptionists and admins create patients, appointments, and queue entries. Admins create staff users. Doctors create consultations and prescriptions.
Read
Read
Staff search patients, open patient profiles, review queue entries, read consultation history, inspect audit logs, and view backup status.
Update
Update
Receptionists and admins update patient details, appointment status, and queue status. Admins update users and backup settings.
Deactivate or cancel
Deactivate or cancel
V1 avoids hard-delete for medical traceability. Admins deactivate staff users, and reception can cancel appointments or queue entries instead of deleting records.
Medical records are handled conservatively.
ElluMed CRM uses cancel, deactivate, and audit-log flows instead of exposing broad permanent deletion controls. This keeps a clearer history for clinics during beta testing.
Queue board
Manage today's patient flow.
Open the Queue view.
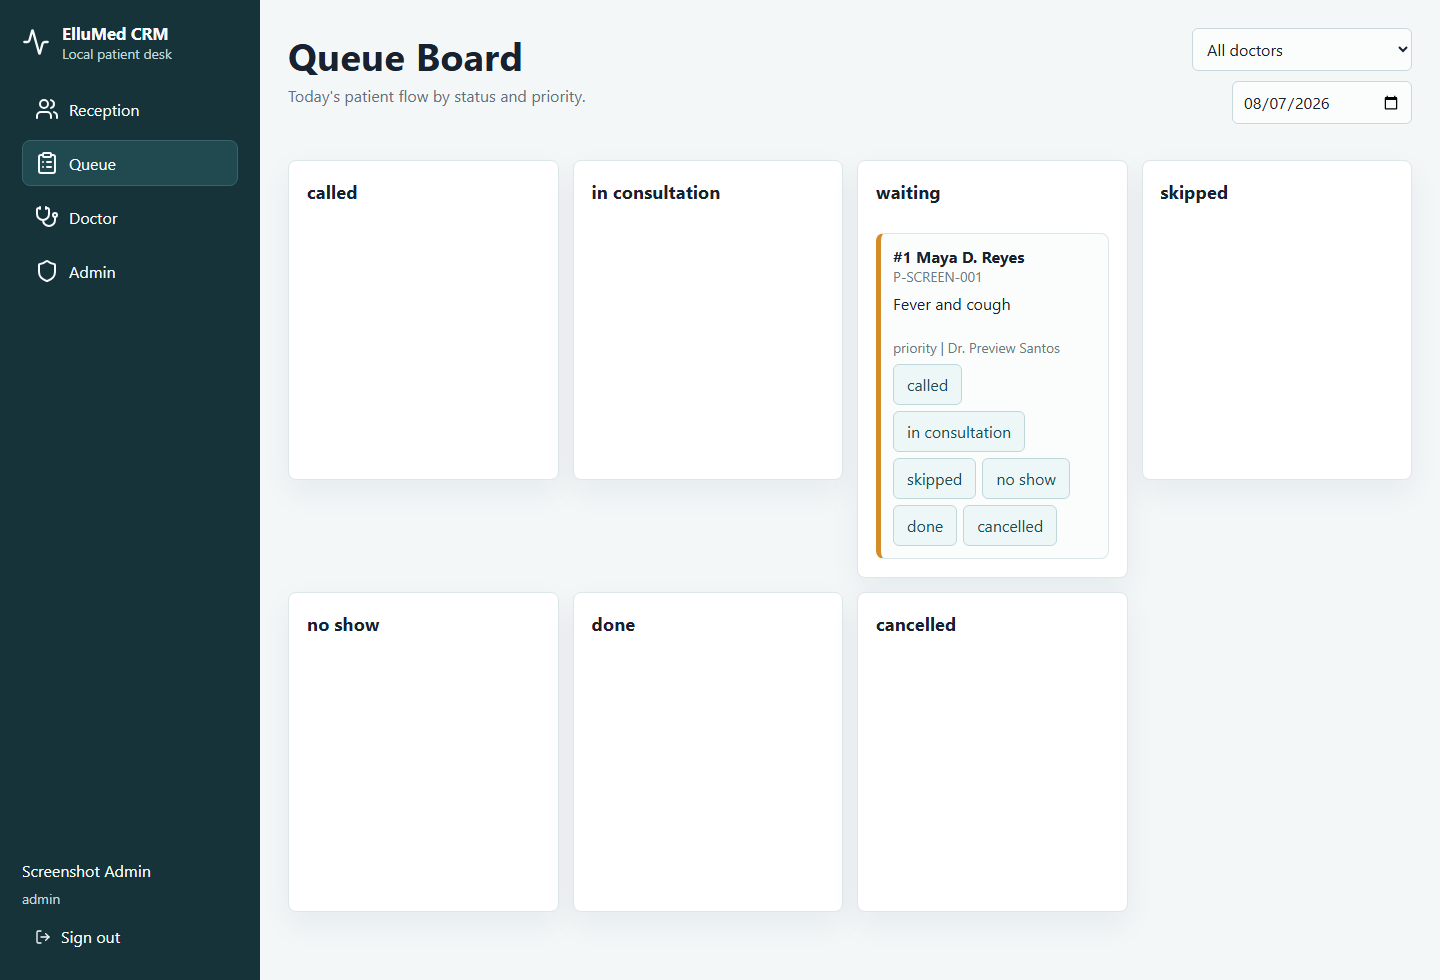
Review waiting, called, in consultation, skipped, done, cancelled, or no-show entries.
Use priority for senior citizens, urgent cases, or clinic-defined priority patients.
Assign a doctor when the patient should go to a specific doctor.
Update status as the patient moves through the clinic.
Avoid adding the same patient twice on the same day while they still have an active queue entry.
The queue board replaces a paper queue sheet with live status columns and priority indicators.
Doctor workspace
Review history and record consultations.
Open the Doctor workspace.
Review today's assigned queue and unassigned patients.
Open the patient record before consultation.
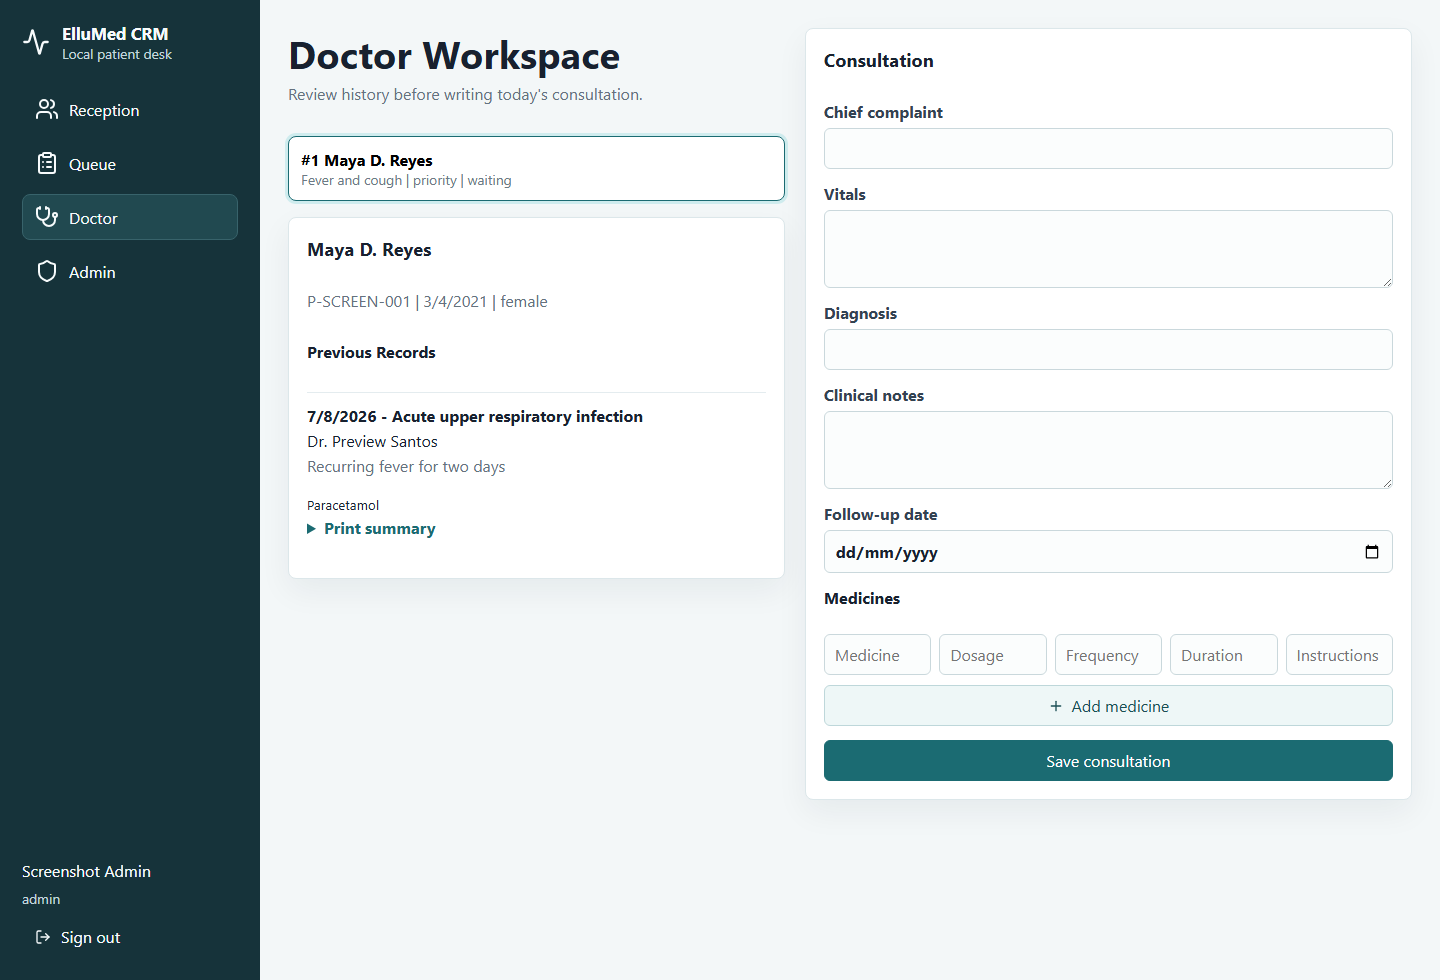
Read previous diagnoses, clinical notes, vitals, and prescriptions.
Enter chief complaint, vitals, diagnosis, clinical notes, follow-up date, and remarks.
Add prescribed medicines with dosage, frequency, duration, and instructions.
Save the consultation so the visit becomes part of the patient's history.
Doctors can review previous diagnoses and prescriptions before saving the current visit.
Admin
Manage users, audit logs, and reports.
Open the Admin area after logging in with an admin account.
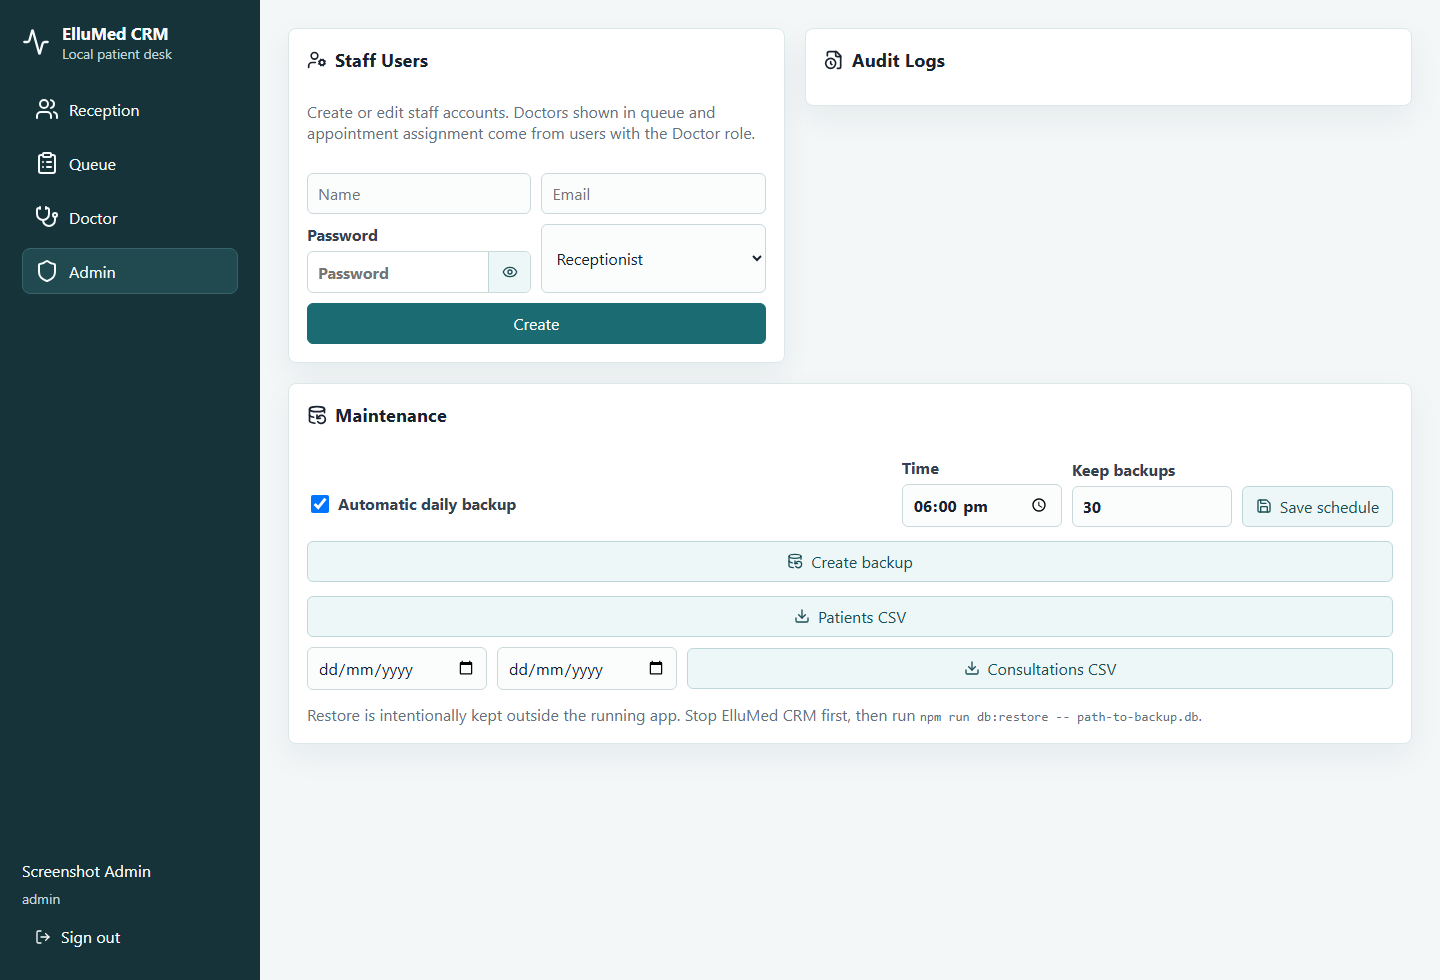
Create staff accounts for receptionists, doctors, and admins.
Edit staff details or change a staff account role to Doctor to modify the doctor list.
Deactivate staff accounts that should no longer access clinic records.
Reset passwords when staff forget their login.
Review audit logs for sensitive actions such as logins, patient changes, queue updates, consultations, prescriptions, and user management.
Export CSV reports when patient or consultation data needs to be reviewed outside the app.
Admins manage staff accounts, doctor availability, reports, audit logs, backups, and maintenance.
Trial and licensing
How the 30-day trial gate works.
Every installed copy starts a 30-day local trial the first time the app initializes the SQLite database.
The trial status is stored locally in the clinic database, not in the EllumeShop website.
During the trial, reception, queue, doctor, admin, export, backup, and LAN workflows are available for testing.
When the trial expires, login and protected workflows are blocked, but the local database and backups are not deleted.
The expired-trial screen asks for feedback and links back to the ElluMed CRM page so the clinic can send ratings, comments, and purchase questions.
What happens after expiry?
The app blocks protected workflows and shows a feedback form. Patient records, queue history, consultations, prescriptions, CSV exports already created, and backup files remain on the clinic computer.
The expired-trial screen explains that local data remains on the computer and asks for feedback before sending the user back to the ElluMed CRM page.
Data safety
Back up the local SQLite database.
Open the Admin backup area.
Confirm the backup folder is available on the host computer.
Run a manual backup before major testing, upgrades, or real clinic use.
Keep automatic daily backups enabled.
Copy backup files to a secure external drive or clinic-approved storage location.
Test restore procedures with non-production data before relying on backups for real operations.
Local network
Access ElluMed CRM from other clinic devices.
Keep ElluMed CRM running on the host computer.
Find the host computer IPv4 address using ipconfig.
On another clinic device, open http://HOST-IP:4000, replacing HOST-IP with the host computer IPv4 address.
Use the same staff login credentials as the desktop app.
If the page does not load, confirm both devices are on the same network and allow ElluMed CRM through Windows Firewall.